My shopping cart
Your cart is currently empty.
Continue Shopping
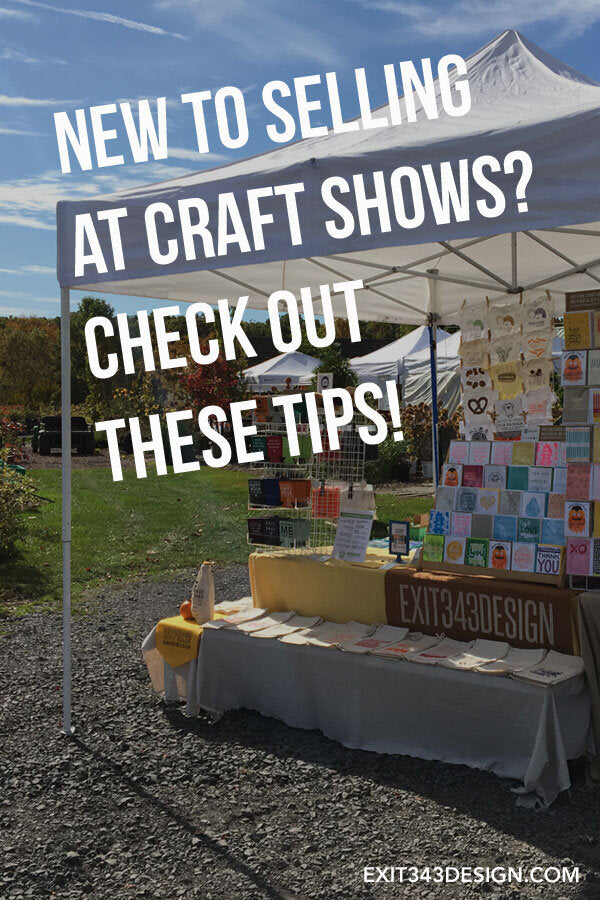
I’m back again for another edition of CRAFT SHOW TIPS, my now regular blog category where I share my ideas and insights on selling in person at retail events. This year, I’ve gotten a few messages from artists and makers who are new to the craft show scene. While it’s an honor that anyone would even think to ask me for advice, it’s a bit daunting to figure out a way to package 10+ years of vending experience into a couple of sentences. Hence, this post! We are getting down to the basics of vending, all the things I’ve been thinking about and struggling through for years.
Beneath each section is a list of products on Amazon. I need to tell you that if you click through and buy from these links, I do make some pennies off of those purchases. But what I also need to tell you is that I own just about all these exact products and use them at events! I figured if I’m recommending the products that I use anyway, I might as well get a bit of that Amazon pot, amiright? With that out of the way, let’s get started:

- YOUR PRODUCT -
Let’s start with the basics: what are you bringing to sell? This should be the easiest question to answer. One question I see often in forums: how much product should you bring to a craft show? In my opinion, the goal number for selling at a live event is to gross 10x your booth fee. Using that as a baseline, you can work backwards from there. Here’s a scenario to visualize:
Booth fee: $650
Goal gross: $6,500
Average cost of your product: $20
Minimum items to bring: 325
- OR -
Booth fee: $75
Goal gross: $750
Average cost of your product: $15
Minimum items to bring: 50
As you can see, two VERY different numbers. The smaller booth fee could represent your local “punk rock flea” kind of event, the larger booth fee could represent a Renegade Craft or a UniqueLA event. But you get the idea I hope!
While this technically could go under “booth,” I’ll leave it here: PRICE YOUR PRODUCT IN ADVANCE. If you’re a ceramicist, add stickers to the bottom of your pieces. If you sell clothing, add tags to your garments. If you can’t add prices to each item, make ample signage! I have an 8” x 10” sign with all my prices listed on it, as well as smaller signs next to each product type. The less questions your customers have to ask you, the more sales you will make. And while folks will still ask you what things cost, make it easy for the other 90% of people who open up their eyeballs. Here’s some recommendations to make pricing your items easier:
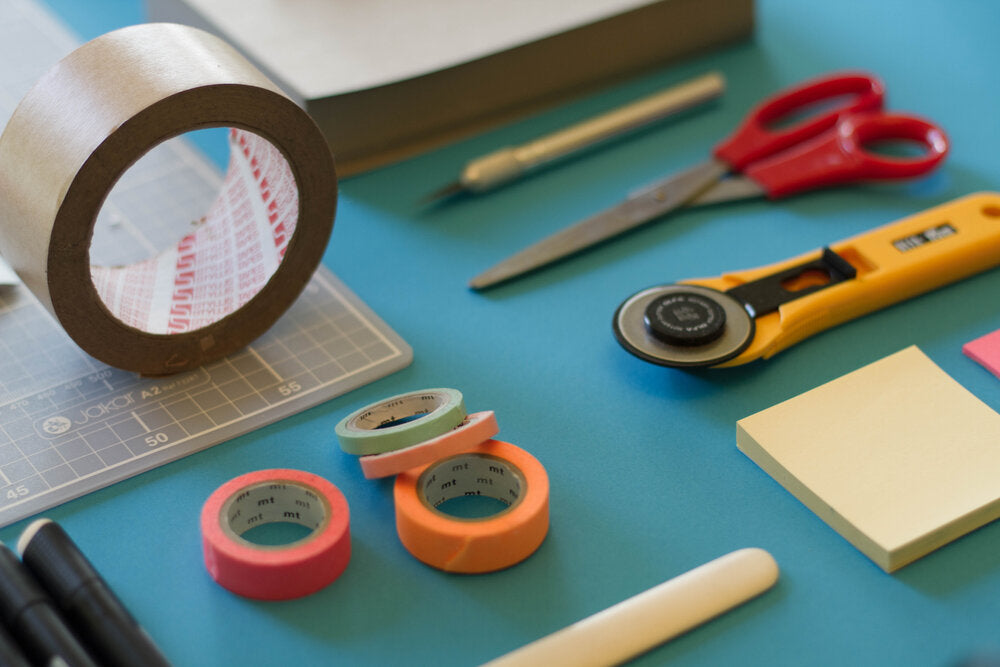
- YOUR SUPPLIES -
When you’re doing live events, having your supplies in order is almost as important as bringing your products- seriously! Back when I started, I would pack supplies before every show and always forget stuff. Then I started keeping a small plastic tub of supplies packed . . . which became a vintage makeup case . . . which I just upgraded to a 3-section toolbox on wheels and it is THE JAM. I am a big proponent of anything with wheels, especially when you do indoor events (and carrying everything in from the outside). During the holidays, I bring two folding hand trucks- the exact two in the Amazon links below. A bungee cord can also be your best friend!
From doing outdoor shows in the rain, I make sure all my products are in plastic tubs. Sterlite is my go-to brand; I bought a Bella brand tub that was literal garbage. It cracked on the way to a show and crumbled as I brought it to my booth. Ikea blue bags and Ikea blue zip bags can be your friend, as well as the large Ziploc storage bags. Keeping things packed and organized makes your back-of-house a lot easier to manage as well! And remember: if an event is “rain or shine” don’t forget to plan for rain! I bring a cheap shower curtain and an absorbent microfiber towel just in case. I also have 4 weather apps on my phone that I’m constantly checking- two of my favorites are My Radar and Dark Sky.
Random supplies that I count on at every show I do: bulldog clips, a taut clothesline using the “CamJam” below, ZIP TIES (the cheapest I’ve found are at Harbor Freight), scissors, tape, a backup charger (the Anker one below is LIFE), and a Sharpie marker.
Here’s a suggested packing list sourced from a professional group that I slightly modified- maybe not everything applies to you, but it’s a great place to start! DOWNLOAD THE .PDF SUPPLY LIST HERE

- YOUR BOOTH -
For outdoor events, get yourself a white 10” x 10” tent. Get a name brand (EZ-Up and Eurmax below are staples) not the cheapo Walmart brand. I am a cheapskate, so I’ve gotten the off-brand tents before and they do not hold up. They’re also shorter than an EZUp or Eurmax, so if you have tall customers coming in your booth, they are hitting their heads. Get a WHITE canopy- it’ll be brighter to show off your product and won’t get insanely hot on warm days!
Also for outdoor events: TENT WEIGHTS. This is not a joke. This is a very serious safety concern for you and those around you. Respect your neighbors by getting PROPER weights (the EZUp sand filled weights below are an industry standard). I have custom made concrete-filled pipe weights, another popular and DIY option. This random document on the internet is a great resource for legitimate tent weight ideas. Gallon water jugs are a joke, weight lifting weights are a joke, cinderblocks tied to your tent are a joke.

PLAN AHEAD: For any event that you do, plan your display ahead of time and take pictures! I am always referencing past displays when setting up; I keep a special album on my phone for quick access. Packing for shows is like a game of Tetris with my small hatchback, so I can’t afford to waste any space with unnecessary fixtures.
BOOTH LAYOUT: If there’s anything I’ve learned, layout matters. If should be easy for shoppers to flow into your space; asking them to come in to your space creates an added step that I’ve found customers often don’t want to make. Or if they do, it can get crowded fast. I’ve found success with a table layout that is either a reverse horseshoe or like this Tetris piece. For an indoor show, I always keep my table parallel with the aisle. This blog post I found also does a great job visually showing different iterations of a booth setup.
This photo collage shows some of my early booth arrangements. As you can see, they are HOT MESSES! Looking back, I realize I did not have clarity about what my brand was (I was an art school kid selling anything I could print) and my confusion shows.:

DISPLAY YOUR WORK: There are a lot of variables depending on the product you’re selling, but here’s some questions to ask yourself when creating your display:
- Can you add height to your display to show off more product to more customers walking by your booth? One thing I use and have seen others use is a folding bench on top of their table- I linked to it below in the Amazon section.
- Is the venue dark? Should you add lighting to help customers see the product?
- Should you put all of your product out for customers to shop or should you have “display only” items? For my booth, I have display baby onesies so that my stock doesn’t get dirty. I do the same with art prints, but only because I have not invested in packaging all my prints individually. Everything else is out for customers to grab.
- Do customers understand what your product is? If not, can you provide a “demonstration” with an example, literature, or an actual demo? For me, I sell wine gift bags but customers kept asking what they were. Now, I have a wine bottle in a bag sitting on my table at every show. The same with tshirts- I have a plastic torso to display tshirts because customers were not making the mental leap for themselves.
- HOW do your customers shop and can you make it easier for them? In my booth, I have little baskets of pinback buttons that customers like to sift through for 10 minutes at a time. If those little baskets are out front of my booth, that customer is now blocking my whole booth for 10 minutes. I’ve since learned to move the baskets of pins to the far side of my booth or not put them out at all depending on the event.
- Most importantly: can customers easily shop your booth? When you do your trial run, try to reach for certain items as if you were a shopper. Is everything cohesive? Are your props or tablecloth distracting? One thing I never figured in to my booth design before was children; one time I had my baskets of pins very low on a bench and kids were dumping them out. I also have items with swear words, so I now put those things up above kids’ eye lines.
While no booth setup is perfect, these are some recent examples of booth displays that I am proud of:
As you can see through the photos I’ve posted, my booth has come a long way and is STILL a work in progress. I’m always looking around to see what is working for other businesses and seeing how I can adapt my own displays. One great resource that has helped me? Renegade Craft photographs all of their live events and posts photos here- there are hundreds of different booth setups to look at for inspiration!
- MOST IMPORTANTLY: YOU! -
The last piece of the puzzle: you! Show up to sell- I wrote another blog post that harps on the importance of this- you can check it out here. But for real, even if you don’t consider yourself a salesperson, just being present is enough. That means standing up, greeting customers, not sitting hunched on your phone. If you don’t like standing for so long, make sure to get a director’s height chair or some foam floor pads to keep your dogs from barking.
Doing live events is not just an opportunity to sell your work, it’s an opportunity to market your business. You never know who could come by! Make sure you have business cards on hand at the very least. Also consider:
- an email signup form on your table (if you don’t have an email list, here’s why you should)
- literature or a sign about future events
- fun freebies for customers, like small buttons or stickers
- packaged mints or candy (this wasn’t a huge sales driver for me, but it did get people to stop at my table! ha!)
I wrote this whole post in a single day, so I may have left some things out by accident. As I think of new things, I’ll come back to add them in! I also looked around to see what has been written about this topic and found a couple of well-written posts with similar ideas, written in a different voice. You can find them here:
What To Bring to a Craft Fair by Brittany Bly
Vendor Booth Ideas and Tips by Lindsey of Archd
5 Tips for a Successful Market Stall by Phoebe
10 Things I’ve Learned Selling at Craft Shows by Heather Strong
I’d love to hear what you think about this post and if you have anything to add- let me know in the comments section below!